|
|
"Autodesk Inventor is a 3D CAD modeling software used to design, visualize, and test product ideas. Inventor allows you to create product prototypes that accurately simulate the weight, stress, friction, driving loads, and much more of products and their components in a simulated 3D environment. Everything from basic mold designs to detailed mechanical engineering models can be created and tested using Inventor's integrated motion simulation and assembly stress analysis tools. Inventor is well known for its accurate 3D modeling features that help you create and visualize your products. Inventor also includes integrated CAD simulation and design communication tools that not only enhances CAD productivity and help to reduce errors but also can be integral in cutting development timelines in half." -Edulearn.com
|
Widget Drawings
|
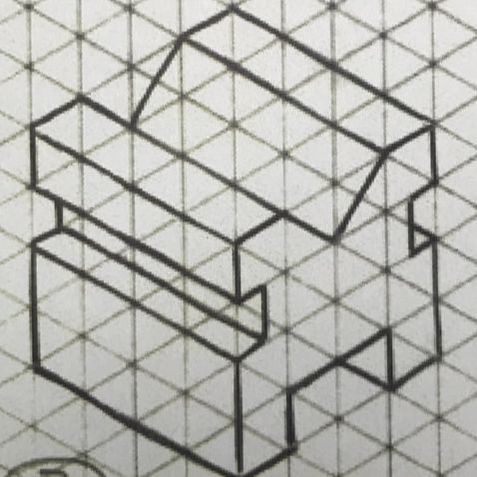
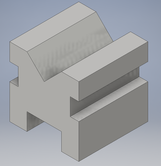
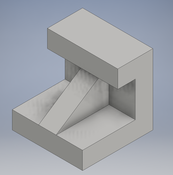
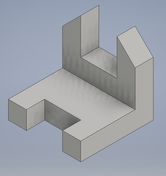
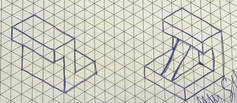
I chose to sketch and print Widget #3 as shown to the right. My steps as to how to make this on inventor were too lengthy to put on this page, so they are shown in a power point. Click the button below the picture to see how to make take this widget from a sketch on a piece of paper to a 3D model on Inventor.
|
|
|
|

|
|
|
3D Printing

|
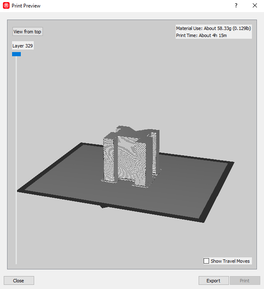
Once your inventor sketch is completed, you will save it as an STL file. Open MakerBot Desktop and open up the inventor sketch. You can rescale the object, flip the orientation, and other things in MakerBot to get your object ready to print. Once you believe it is ready you press the preview button and then you can see how many layers the object will be, along with the estimated time it will take to print. After the object is previewed and ready to go, the file is saved and transferred onto a flashdrive, where it is then plugged into the 3D printer and printed.
|
|

Object being 3D printed
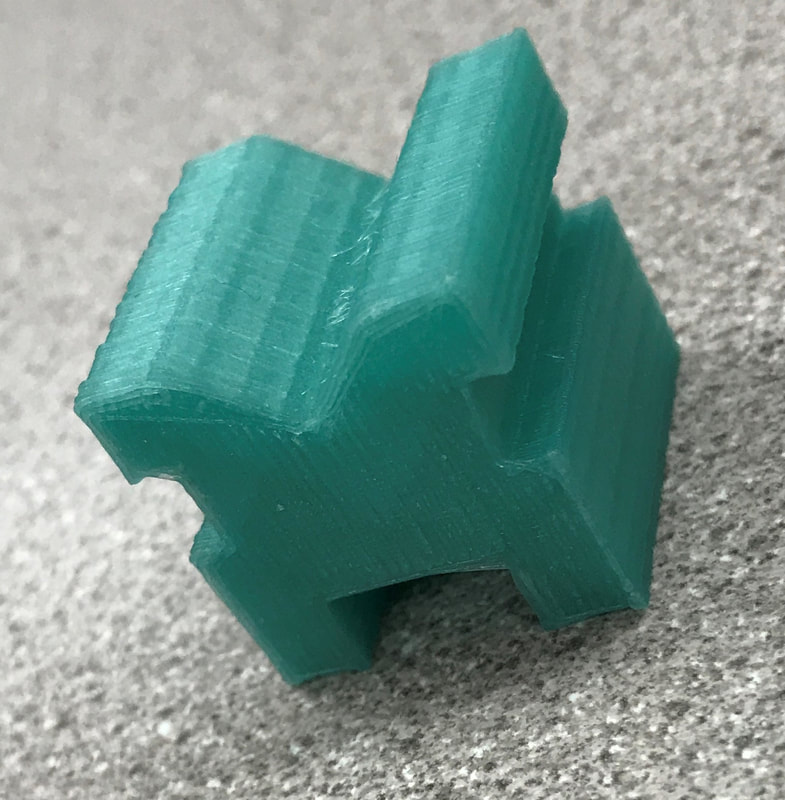
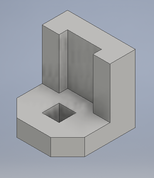
The Final Product
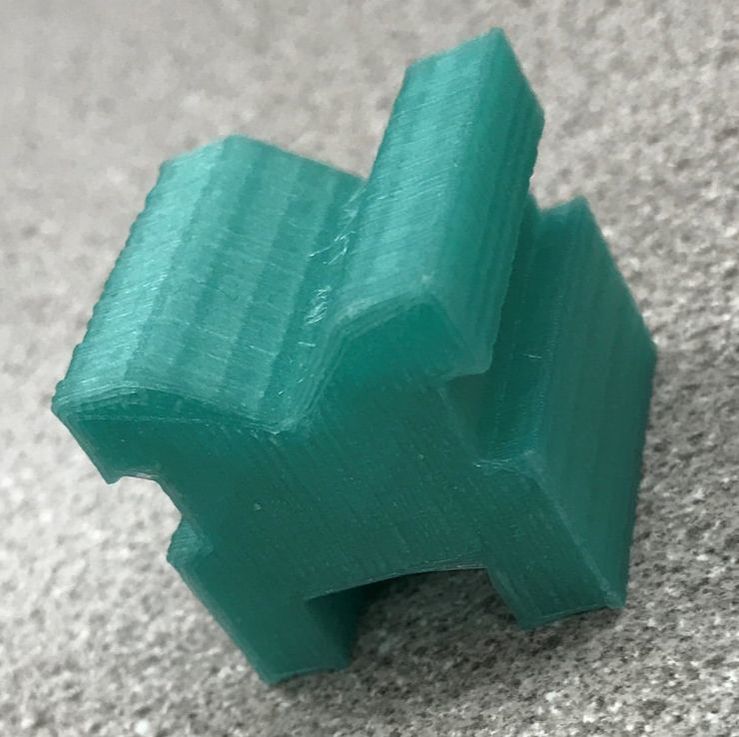
3D View |
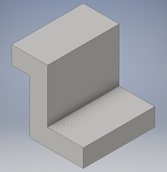
Front View |
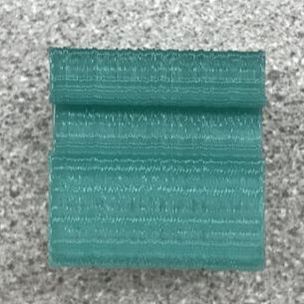
Side View |
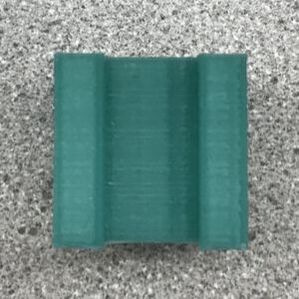
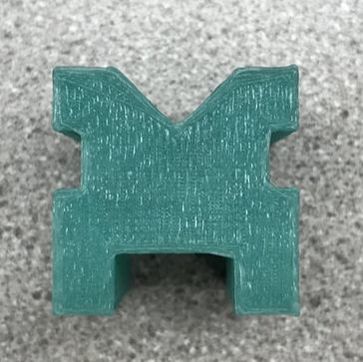
Bottom View |
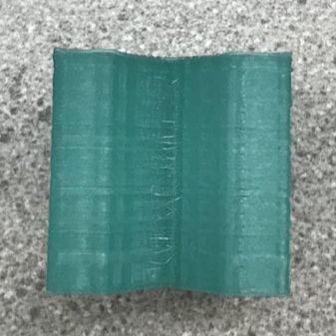
Top View |
Summary
What did I learn from this introduction to Inventor/3D printing? I had prior knowledge on how to use Inventor, so the stuff we covered on that was mostly a refresher. However, I have never used a 3D printer or Makerbot Desktop until this project. I learned how to format my object and scale it correctly in Makerbot, and then I learned how to take that file from my computer, put it into the 3D printer and actually print my Widget. What started out as just a sketch became a 3D model, and then an actual 3D object!
What did I learn from this introduction to Inventor/3D printing? I had prior knowledge on how to use Inventor, so the stuff we covered on that was mostly a refresher. However, I have never used a 3D printer or Makerbot Desktop until this project. I learned how to format my object and scale it correctly in Makerbot, and then I learned how to take that file from my computer, put it into the 3D printer and actually print my Widget. What started out as just a sketch became a 3D model, and then an actual 3D object!
