|
|
|
|
Project Overview
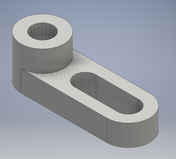
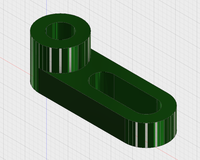
For this project we had to create a widget using the CNC Mill to familiarize ourselves with the machine. As you can see from the above pictures, we had to take the widget from a mere sketch and use Inventor, Fusion 360, and the Mill to bring it to life.
Steps to Complete this Project
1.) The first step was to take the sketch of the widget and convert it into a usable sketch on Inventor.
2.) Next you have to transfer that to Fusion 360 where you create a tool path using 3D adaptive clearing for the machine to run on.
3.) Then you have to save the G Code of the Fusion 360 setup you created so that the machine can read what it needs to do to the object.
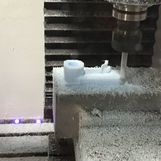
4.) Use a USB to take the G Code down to the machine, plug it in, and place your object inside the machine.
5.) Then use the x, y, and z buttons to adjust where the mill will begin cutting you object and run the machine.
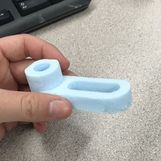
6.) Once you have completed all the previous steps and removed you object carefully from the machine, you have successfully created the widget!
2.) Next you have to transfer that to Fusion 360 where you create a tool path using 3D adaptive clearing for the machine to run on.
3.) Then you have to save the G Code of the Fusion 360 setup you created so that the machine can read what it needs to do to the object.
4.) Use a USB to take the G Code down to the machine, plug it in, and place your object inside the machine.
5.) Then use the x, y, and z buttons to adjust where the mill will begin cutting you object and run the machine.
6.) Once you have completed all the previous steps and removed you object carefully from the machine, you have successfully created the widget!
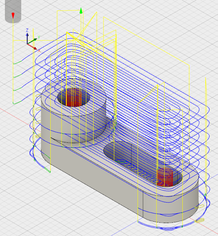
Toolpath in Fusion 360
|
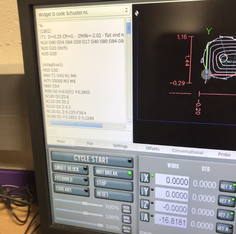
G Code
|
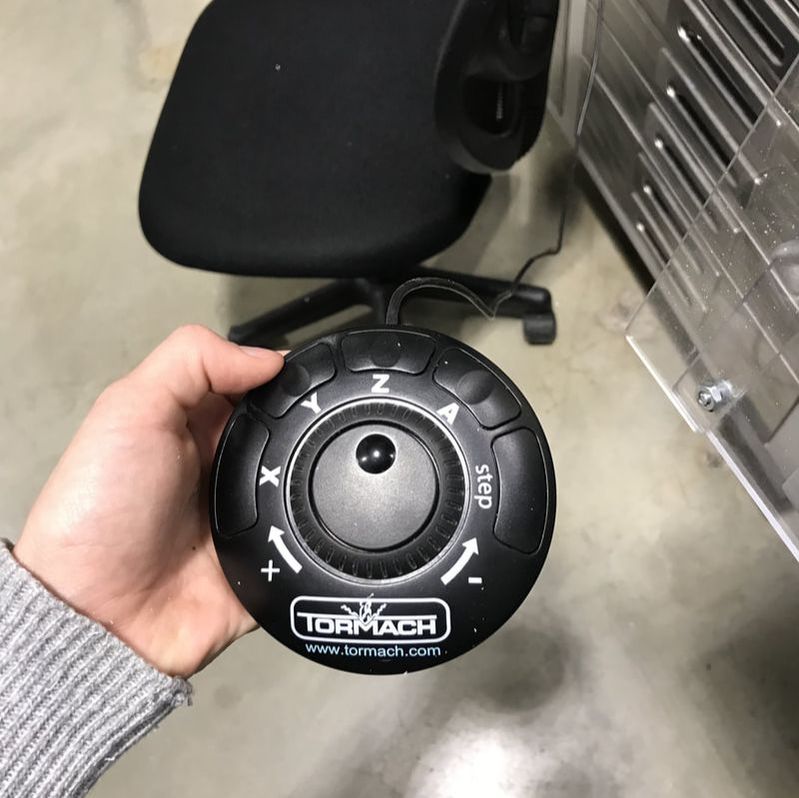
X, Y, Z buttons
|
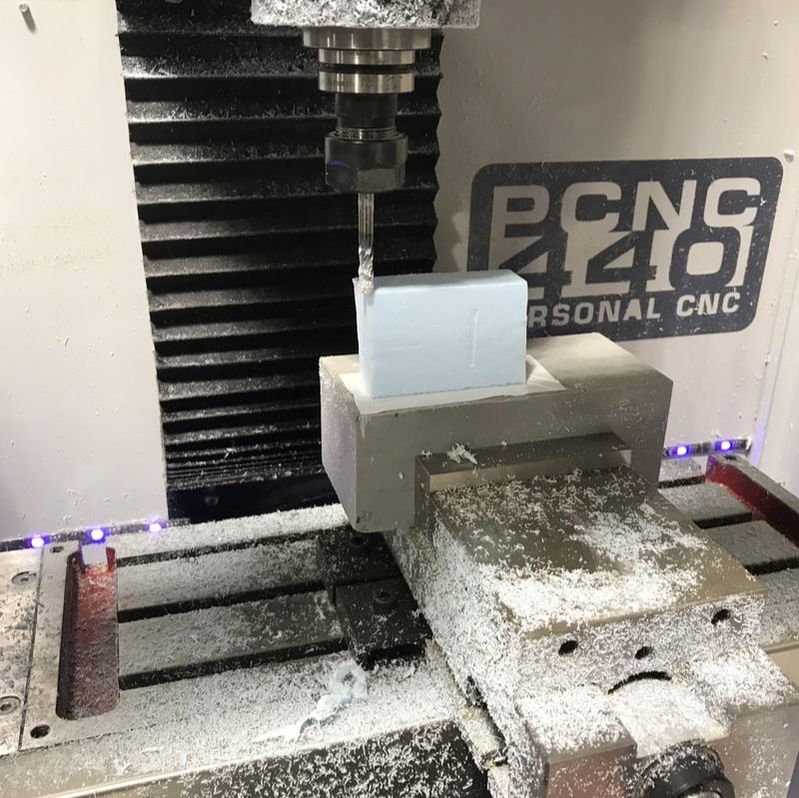
Beginning of Mill Cuts
|
Summary
Throughout this project, I reinforced some of my skills using inventor and I learned a few new skills. The main thing I learned from this project was how to use Fusion 360. While my knowledge is still fairly limited, I do know the basics of creating a tool path and what not. Additionally I learned how to use the CNC Mill itself.
